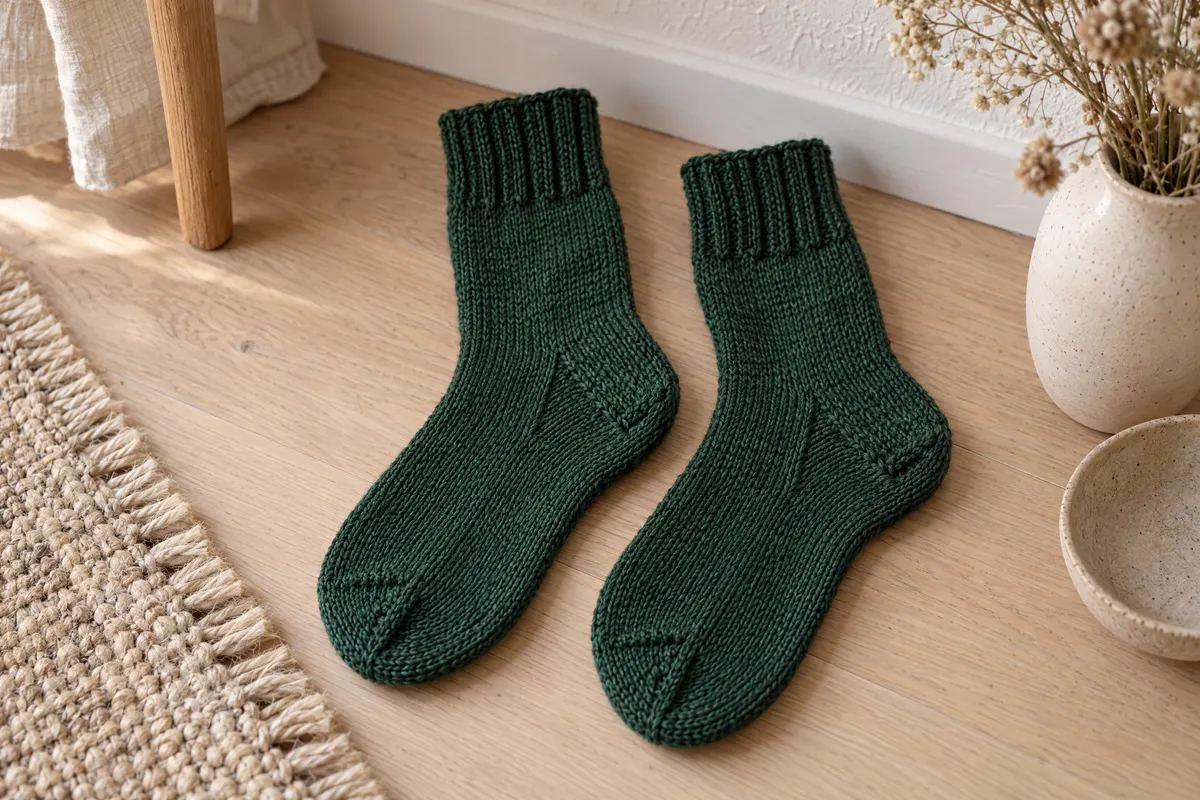
Top-Down Heel Flap Socks
The classic sock: rib cuff, heel flap, turned heel, gusset and wedge toe. Every count comes from the sock size chart and your gauge.
- Yarn
- Fingering (1) sock yarn with nylon for durability.
- Needles
- US 1 (2.25 mm) DPNs, 9 in circular or long circular for magic loop
- Sizes
- Baby to men’s large (sock chart). Example: women’s M, sock around 7.25 in (18.5 cm), foot length 9.5 in (24 cm).
- Example gauge
- 32 sts and 44 rnds = 4 in (10 cm) in stockinette
- Yarn needed
- About 380 yd (350 m) fingering for women’s M (ribbed legs add about 5%).
- Stitch multiple
- 4 (2 for the heel)
Do the math
The examples use the gauge above. Put your own swatch into the gauge calculator first, then use your numbers in each formula.
| Step | Formula | Example | Tool |
|---|---|---|---|
| Cast on | “sock around” from the chart × sts per in, rounded to a multiple of 4 | 7.25 × 8 = 58 → 60 sts | Cast-On Calculator |
| Heel sts (H) | cast on ÷ 2 | 30 | By hand |
| Heel turn row 1 | sl 1, k(H ÷ 2 + 1), ssk, k1 | sl 1, k16, ssk, k1 | By hand |
| After heel turn | H ÷ 2 + 3 (see note if H ÷ 2 is even) | 18 sts | By hand |
| Gusset pick-up | flap rows ÷ 2, + 1 each side | 15 + 1 = 16 each side | By hand |
| Foot length before toe | foot length − 2 in | 9.5 − 2 = 7.5 in from back of heel | Size Charts |
Materials
- Fingering (1) yarn (see yarn needed)
- US 1 (2.25 mm) DPNs, 9 in circular or long circular for magic loop
- Markers
- Tapestry needle
Gauge swatch
Swatch in the round. Sock gauge needs to be firm: if you can see through the fabric, go down a needle size.
Instructions
Cuff and leg
Cast on (example: 60 sts) loosely. Join. Rnd 1: *K2, p2; rep from *. Work 1.5 in. Knit until the leg is 6 in (15 cm) or your length.
Heel flap
Work back and forth over the first half of the sts (H). Keep the rest on hold for the instep.
Row 1 (RS): *Sl 1 purlwise, k1; rep from *.
Row 2 (WS): Sl 1 purlwise, purl to end.
Repeat until you have worked H rows (example: 30 rows).
Turn heel
Row 1 (RS): Sl 1, k(H ÷ 2 + 1), ssk, k1, turn. (example: sl 1, k16, ssk, k1)
Row 2 (WS): Sl 1, p5, p2tog, p1, turn.
Row 3: Sl 1, knit to 1 st before the gap, ssk (closing the gap), k1, turn.
Row 4: Sl 1, purl to 1 st before the gap, p2tog, p1, turn.
Repeat rows 3–4 until all heel sts are worked. If there’s no stitch left for the final k1 or p1, skip it.
Gusset
Knit across the heel. Pick up and knit 1 st in each slipped edge stitch along the flap, plus 1 in the corner. Knit across the instep. Pick up the same number along the other side. Knit to the centre of the heel: this is the new start of round.
Rnd 1: Knit to 3 sts before instep, k2tog, k1; knit instep; k1, ssk, knit to end.
Rnd 2: Knit.
Repeat until you’re back to the cast-on count (example: 60 sts, 10 decrease rounds).
Foot and toe
Knit until the foot measures foot length − 2 in from the back of the heel.
Rearrange so the sole and instep each have half the sts. Dec rnd: On each half: k1, ssk, knit to last 3 sts, k2tog, k1. 4 sts decreased.
Work a dec rnd every other rnd until about half the sts remain (a multiple of 4), then every rnd until about a quarter remain (example: 60 → 32 → 16).
Finishing
- Graft the toe with Kitchener stitch.
- Weave in ends. Block on sock blockers if you have them.
Designer’s notes
- Heel turn maths: after rows 1–2, each row closes one gap and uses 2 of the waiting stitches. When H ÷ 2 is even (H = 32, 36…), the last row has no stitch for k1: skip it. The finished heel then has H ÷ 2 + 2 sts.
- Picking up an extra stitch at each top corner of the gusset stops holes; decrease it on the first round.
Counter set-up
Counter 1: flap rows (goal H). Counter 2: gusset decrease rounds. Counter 3: toe rounds.
Open the row & stitch counter for several counters, or use the quick one below.
Tools for this pattern
- Size ChartsLook up the finished measurements for the size you are making.
- Gauge CalculatorEnter your swatch counts to get stitches and rows per 4 in (10 cm).
- Cast-On CalculatorEnter your width and gauge; it rounds to the stitch multiple for you.
- Yarn Quantity CalculatorPick the project, size and yarn weight to get total yardage and skeins to buy.
- Row & Stitch CounterSet up the counters listed below; the screen stays awake while you work.