Garter Ridge Baby Blanket
The first blanket everyone should knit: garter stitch with a neat slipped edge, sized from your own gauge so it comes out exactly stroller-sized.
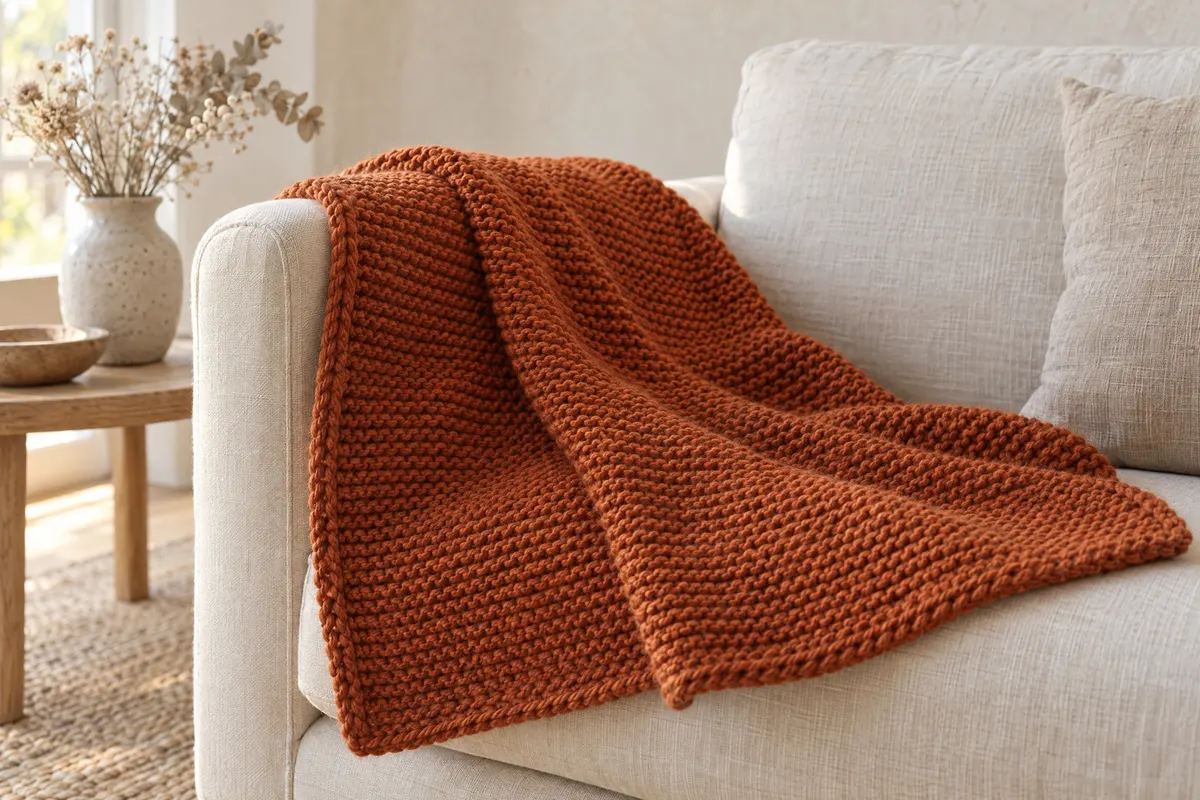
- Yarn
- Worsted (4) is shown; any weight works if you swatch first.
- Needles
- US 8 (5 mm) 32 in (80 cm) circular, or size to get a fabric you like
- Sizes
- Stroller 30 × 35 in (76 × 89 cm). Swap in any size from the blanket chart.
- Example gauge
- 18 sts and 36 rows (18 ridges) = 4 in (10 cm) in garter stitch
- Yarn needed
- About 1,100 yd (1,000 m) in worsted for the stroller size. Garter uses about 15% more than stockinette, so choose “Garter or ribbing” in the calculator.
Do the math
The examples use the gauge above. Put your own swatch into the gauge calculator first, then use your numbers in each formula.
| Step | Formula | Example | Tool |
|---|---|---|---|
| Stitches per inch | sts per 4 in ÷ 4 | 18 ÷ 4 = 4.5 sts per in | Gauge Calculator |
| Cast on | finished width × sts per in | 30 × 4.5 = 135 sts | Cast-On Calculator |
| Rows to knit | finished length × rows per in | 35 × 9 = 315 → 316 rows (158 ridges) | By hand |
Materials
- Worsted (4) yarn (see yarn needed)
- US 8 (5 mm) 32 in (80 cm) circular, or size to get a fabric you like
- Tapestry needle
- 1 removable marker (to mark the right side)
Gauge swatch
Cast on 24 sts and knit every row for 4 in. Measure the middle 4 in and count stitches across and ridges up (1 ridge = 2 rows).
Instructions
Cast on
Using the long-tail method, cast on the number from the math box (example: 135 sts). Place a removable marker on the fabric to mark the right side.
Body
Every row: Slip 1 purlwise with yarn in front, move yarn to back between the needles, knit to end.
Repeat this row until the blanket measures your finished length (example: 35 in / 89 cm), ending after a wrong-side row.
Counting ridges is easier than measuring on a long piece. Each tap of the counter = 1 ridge (2 rows).
Bind off
Bind off loosely knitwise on the right side. If your bind-off pulls in, go up two needle sizes for the bind-off row only.
Finishing
- Weave in ends along the slipped edge.
- Wet block flat to measurements and let dry completely.
Designer’s notes
- Join new balls at the start of a row, never mid-row, so ends hide in the slipped edge.
- For a receiving blanket (36 × 36 in), the same gauge gives 162 sts and about 324 rows.
Counter set-up
Counter 1: ridges (tap after every second row). Counter 2: skeins used, so you know when to join a new one.
Open the row & stitch counter for several counters, or use the quick one below.
Tools for this pattern
- Gauge CalculatorEnter your swatch counts to get stitches and rows per 4 in (10 cm).
- Cast-On CalculatorEnter your width and gauge; it rounds to the stitch multiple for you.
- Yarn Quantity CalculatorPick the project, size and yarn weight to get total yardage and skeins to buy.
- Size ChartsLook up the finished measurements for the size you are making.
- Row & Stitch CounterSet up the counters listed below; the screen stays awake while you work.