Corner-to-Corner (C2C) Blanket
Little tiles worked diagonally, growing then shrinking. Each tile is like a pixel, so stripes and pictures are easy.
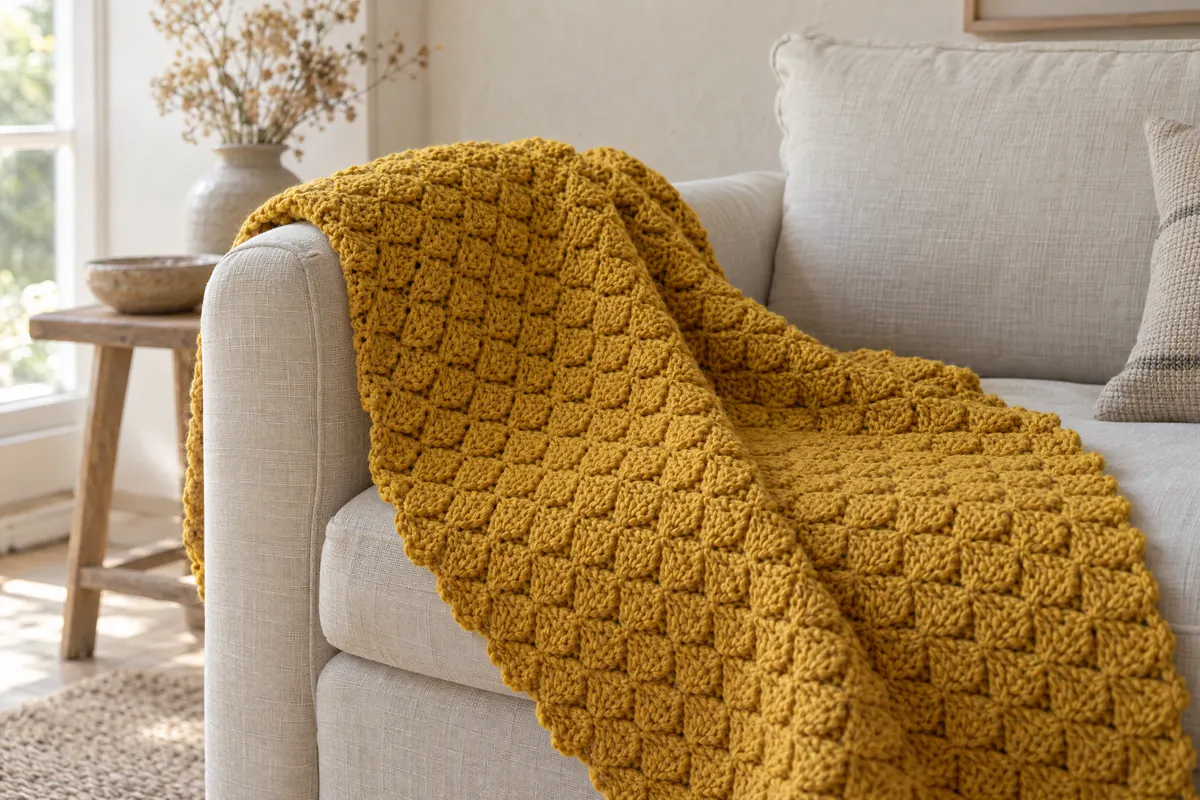
- Yarn
- Worsted (4); 2–6 colours for diagonal stripes.
- Hook
- H-8 (5 mm)
- Sizes
- Crib 45 × 60 in (114 × 152 cm)
- Example gauge
- 10 tiles = 8 in (20 cm) along an edge
- Yarn needed
- About 3,200 yd (2,900 m) worsted.
US terms. The UK name follows in brackets the first time each stitch appears. Turning chains don’t count as stitches unless a step says so. See US vs UK crochet terms and crochet abbreviations.
Do the math
The examples use the gauge above. Put your own swatch into the gauge calculator first, then use your numbers in each formula.
| Step | Formula | Example | Tool |
|---|---|---|---|
| Tile size | 10-tile edge ÷ 10 | 8 ÷ 10 = 0.8 in | By hand |
| Tiles across | width ÷ tile size | 45 ÷ 0.8 ≈ 56 tiles | Size Charts |
| Tiles long | length ÷ tile size | 60 ÷ 0.8 = 75 tiles | By hand |
Materials
- Worsted (4) yarn (see yarn needed)
- H-8 (5 mm)
- Tapestry needle
- Graph paper or a spreadsheet (for picture designs)
Gauge swatch
Work a 10 × 10 tile square and measure one edge.
Instructions
Increase
Row 1: Ch 6, dc (UK tr) in 4th ch from hook and in next 2 ch. (1 tile)
Row 2: Ch 6, turn. Dc in 4th ch from hook and next 2 ch. Sl st (UK ss) into the ch-3 sp of the next tile, ch 3, 3 dc in the same sp. (2 tiles)
Increase rows: Ch 6, turn, dc in 4th ch from hook and next 2 ch; *sl st into the next ch-3 sp, ch 3, 3 dc in same sp; rep from * to end. Each row adds 1 tile.
Increase until the row has as many tiles as the short side (example: 56).
Rectangle section
Now one edge keeps increasing and the other decreases, so each row keeps the same number of tiles.
Decrease start: Turn, sl st in each of the next 3 dc and into the ch-3 sp, ch 3, 3 dc in same sp; continue tiles to end.
Alternate: rows that start at the long edge begin with an increase and end with a decrease (sl st into the last ch-3 sp and turn without making a tile); rows that start at the short edge begin with the decrease start and end normally. Continue until the long edge has the long tile count (example: 75).
Decrease
Decrease at both ends: start with the decrease start, and at the end of the row sl st into the last ch-3 sp and turn without making a tile. Repeat until 1 tile remains. Fasten off.
Finishing
- Border: sc (UK dc) evenly around, 3 sc in each corner, then 2 rounds of hdc (UK htr).
- Weave in ends and block.
Designer’s notes
- For pictures, draw a grid where each square is one tile. 56 × 75 tiles = one design grid.
- Change colour on the last yo of the previous tile, so each tile starts clean.
Counter set-up
Counter 1: tiles in the current row. Counter 2: rows.
Open the row & stitch counter for several counters, or use the quick one below.
Tools for this pattern
- Size ChartsLook up the finished measurements for the size you are making.
- Yarn Quantity CalculatorPick the project, size and yarn weight to get total yardage and skeins to buy.
- Row & Stitch CounterSet up the counters listed below; the screen stays awake while you work.