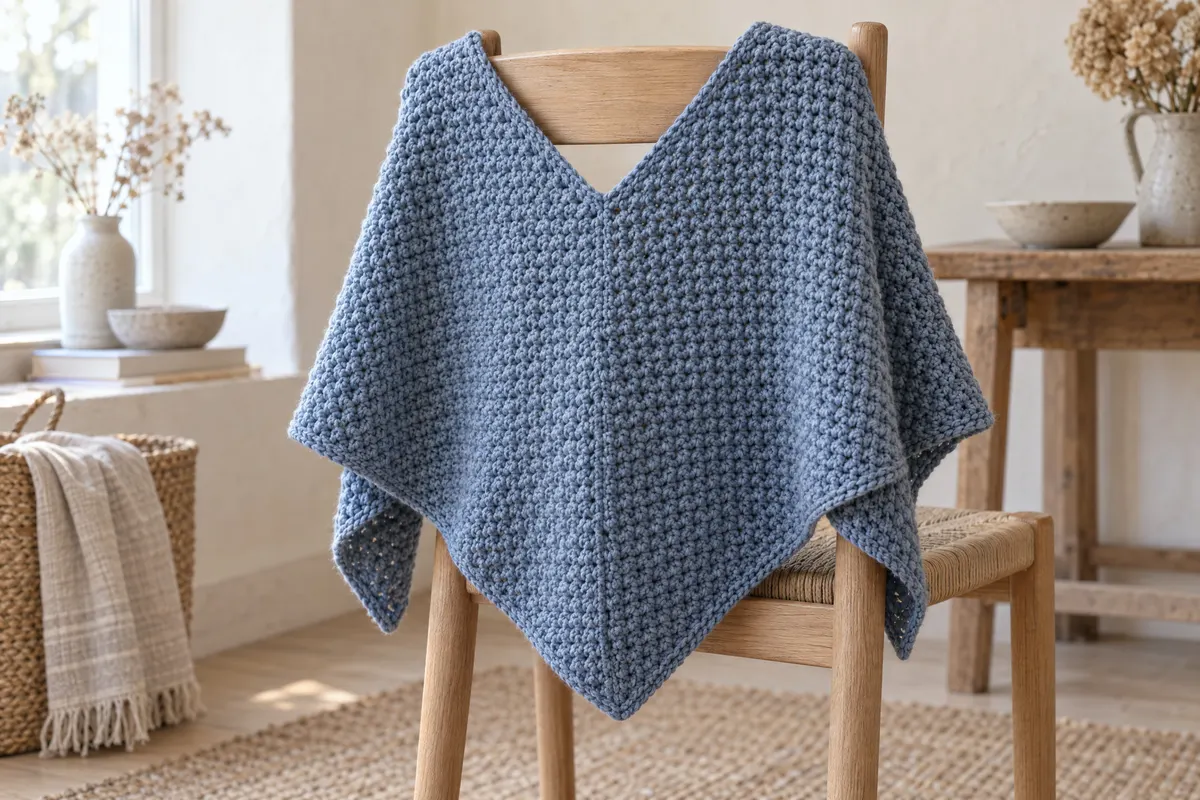
Two-Rectangle Poncho
Two identical moss stitch rectangles, seamed into a V-front poncho. No shaping at all.
- Yarn
- Worsted (4) wool or blend.
- Hook
- H-8 (5 mm)
- Sizes
- Child (13 in rectangles), adult S/M (20 in), adult L/XL (22 in). Rectangles are twice as long as they are wide.
- Example gauge
- 16 sts and 18 rows = 4 in (10 cm) in moss stitch
- Yarn needed
- About 1,600 yd (1,465 m) worsted for adult S/M.
- Stitch multiple
- 2
US terms. The UK name follows in brackets the first time each stitch appears. Turning chains don’t count as stitches unless a step says so. See US vs UK crochet terms and crochet abbreviations.
Do the math
The examples use the gauge above. Put your own swatch into the gauge calculator first, then use your numbers in each formula.
| Step | Formula | Example | Tool |
|---|---|---|---|
| Rectangle | width W, length 2 × W | 20 × 40 in | Size Charts |
| Foundation chain | W × sts per in, to even | 20 × 4 = 80 ch | Cast-On Calculator |
| Rows | 2W × rows per in | 40 × 4.5 = 180 rows | By hand |
Materials
- Worsted (4) yarn (see yarn needed)
- H-8 (5 mm)
- Tapestry needle
Gauge swatch
Moss stitch swatch.
Instructions
Rectangles (make 2)
Ch (example: 80). Row 1: Sc (UK dc) in 4th ch from hook, *ch 1, sk (UK miss) next ch, sc in next ch; rep from * to end.
Row 2: Ch 2, turn. Sc in first ch-1 sp, *ch 1, sc in next ch-1 sp; rep from *, ending in the turning-ch space.
Repeat row 2 to 2W (example: 40 in).
Assemble
Lay rectangle A horizontally. Place rectangle B vertically so one short end of B lines up with the first W inches of A’s top long edge (at the right end). Seam.
Bring the free short end of A up to meet the long edge of B at its far end. Seam. The unsewn part of the edges forms the neck.
Finishing
- Work 1 round of sc around the neck.
- Add fringe around the hem, if you like.
- Weave in ends.
Designer’s notes
- Try it on after the first seam: the neck should slip over your head easily before the second.
- Stripe it: the stripes run in two directions once assembled.
Counter set-up
Counter 1: rows.
Open the row & stitch counter for several counters, or use the quick one below.
Tools for this pattern
- Gauge CalculatorEnter your swatch counts to get stitches and rows per 4 in (10 cm).
- Cast-On CalculatorEnter your width and gauge; it rounds to the stitch multiple for you.
- Size ChartsLook up the finished measurements for the size you are making.
- Yarn Quantity CalculatorPick the project, size and yarn weight to get total yardage and skeins to buy.
- Row & Stitch CounterSet up the counters listed below; the screen stays awake while you work.